Nest Thermostat No Power to Rc Wire: The Definitive Troubleshooting Guide
Estimated reading time: 12 minutes.
The 2-Minute Quick Check:
- Check the Breaker: Ensure your HVAC system’s dedicated circuit breaker hasn’t tripped.
- Inspect the Furnace Door: Most furnaces have a safety switch that cuts power if the panel isn’t fully seated. Ensure it is clicked shut.
- Verify Wire Seating: Pull the Nest display off the base and ensure the Rc wire is pushed fully into the terminal and the lever is locked.
- Check for Blown Fuses: Inspect the control board inside your furnace for a small automotive-style fuse (usually 3A or 5A).
Table of Contents
You are staring at a blank Nest screen or a “No power to Rc wire” error message. It is frustrating, especially when the temperature in your home is climbing or plummeting. This error means the Nest thermostat is not detecting the 24V AC signal required to operate your cooling system. While this often feels like a hardware failure, it is frequently a simple electrical interruption between your HVAC control board and the thermostat base.
As a technician, I have seen this issue hundreds of times. It is rarely the Nest unit itself that is broken; it is almost always a wiring, power, or safety switch issue within your HVAC system. This guide will walk you through the diagnostic process to restore power to your Rc wire permanently.
Root Causes: Why Your Nest Lost Power
To fix this, you must understand how the Nest communicates with your HVAC system. The Rc (Cooling) wire carries 24V AC power from your furnace or air handler to the thermostat. When the Nest reports “No power,” it means the circuit is open. This happens for three primary reasons:
- Safety Interlocks: HVAC systems are designed to kill power to the thermostat if they detect a fault, such as a clogged condensate drain or an open furnace door.
- Electrical Continuity: The wire may have corroded, snapped, or become loose at the furnace control board.
- Voltage Drop: If you do not have a C-wire (Common wire), the Nest “power stealing” method can fail if the internal battery is degraded or if the HVAC transformer is struggling to provide enough current. You can learn more about managing these complex setups in our comprehensive thermostat troubleshooting hub.
According to iFixit’s repair documentation, thermostat wiring issues are the leading cause of smart home device failure, often stemming from oxidation on copper leads or loose terminal connections.
Step-by-Step Troubleshooting
1. Inspect the HVAC Safety Switches
Before touching the thermostat, go to your furnace or air handler. Look for the condensate overflow switch—a small device attached to the drain line. If your AC drain is clogged, this switch cuts power to the Rc wire to prevent water damage. If the drain is full of water, clear it. Additionally, ensure the furnace door is pressed firmly against the safety interlock switch.
2. Verify the Control Board Fuse
Open the service panel on your furnace. Locate the control board. You will see a small, usually purple or yellow, 3-amp or 5-amp automotive fuse. If this fuse is blown, the Nest will lose power to the Rc wire immediately. If the metal filament inside the fuse is broken, replace it with an identical fuse from any hardware store.
Technician’s Pro-Tip: If you replace the fuse and it blows again immediately, you have a short circuit in your thermostat wiring. Do not keep replacing the fuse; you must trace the wire from the thermostat to the furnace to find where the insulation has been compromised.
3. Test the Wiring at the Base
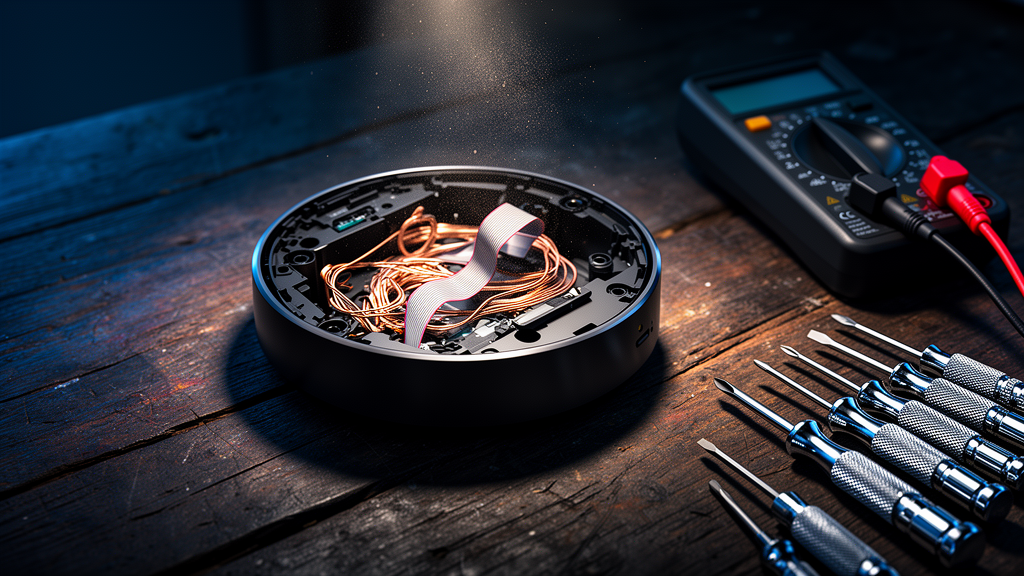
Remove the Nest display. Use a multimeter set to 24V AC. Place one probe on the Rc terminal and one on the C terminal (or the G terminal if you lack a C-wire). If you do not see a reading between 20V and 28V, the issue is not the Nest; it is the wiring or the transformer. If you do see voltage, the Nest base itself may have a faulty terminal connector.
4. Address Wi-Fi and Firmware Interference
While rare, a “No power” error can sometimes be a software glitch if the Nest is stuck in a boot loop. Ensure your router is broadcasting a stable 2.4GHz signal, as Nest devices often struggle with 5GHz congestion. For more on network stability, refer to CNET’s guide on home network optimization.
Comparison: DIY Repair vs. Professional HVAC Service
| Factor | DIY Troubleshooting | Professional HVAC Tech |
|---|---|---|
| Cost | $0 – $10 (Fuses/Tools) | $150 – $300+ (Service Call) |
| Time | 30 – 60 Minutes | 1 – 2 Hours |
| Risk | Low (if power is off) | None |
| Best For | Loose wires, blown fuses | Shorts in walls, transformer failure |
Recommended Video Fix
Frequently Asked Questions
Why does my Nest say “No power to Rc wire” only when the AC turns on?
This is a classic sign of a “power stealing” issue. When the AC kicks on, the system draws more current. If your C-wire is missing or improperly connected, the Nest cannot maintain its internal battery charge while operating the relay, causing the power to drop.
Can I just jump the Rc and Rh wires to fix it?
No. Never jump wires unless you are absolutely certain of your system’s configuration. Doing so can send 24V into the wrong circuit board terminal, potentially frying your HVAC control board, which is a very expensive repair.
How long should a Nest thermostat last?
A Nest thermostat is designed to last 10+ years. If you are experiencing power issues after only 2-3 years, it is almost certainly an external environmental factor—like a failing HVAC transformer or a loose wire—rather than the thermostat reaching the end of its life.
Related Topics: Nest Thermostat, HVAC Troubleshooting, Smart Home Repair